
Sarah, Alison and Pauline had a very productive day. Sarah made blocks from old shirts, Alison had brought background fabric of lime green (great choice) and Pauline had brought fabric from her 'pink phase' which needed using up. Way to go!  Margaret decided to move out of her comfort zone (fabric wise) and had chosen some gorgeous black, white and red fabrics. These will make a stunning quilt.
 Margaret decided to move out of her comfort zone (fabric wise) and had chosen some gorgeous black, white and red fabrics. These will make a stunning quilt.
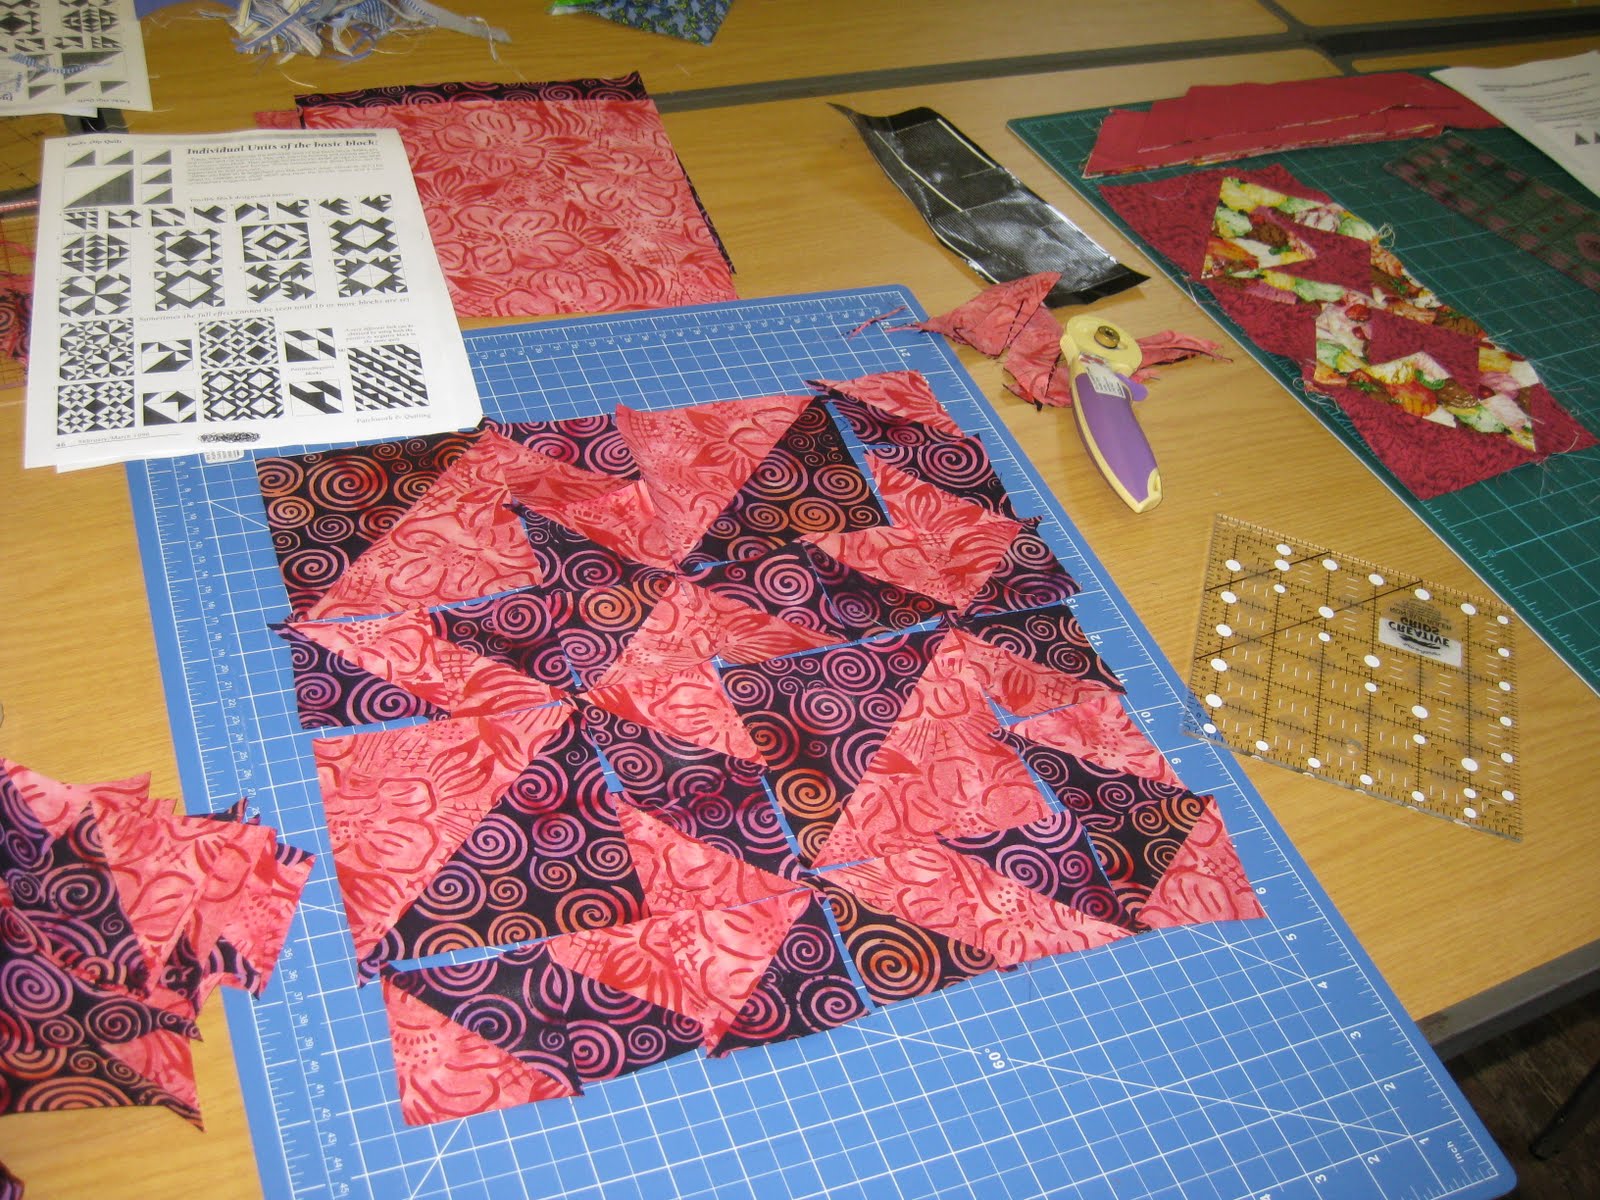 Liz had opted for just two fabrics - batiks in pink and navy blue (or is it black?) and she tried out this novel arangement. In the end she decided on a star design, like Margaret's.
  Rachel chose rich browns and beiges, and has made a pinwheel out of them. She is thinking of making more and then sashing them in plain dark brown. Good decision.
 Hazel only wanted to make a few blocks for a cushion. This design will do the trick (and she doesn't need a button in the middle, as her join is perfect!)
Sarah had started this quilt using old shirtings, soft and subtle, ages ago. She decided to make a border from triangle blocks - perfect choice. Debbie and Sian like pretty things, and fell for this heart arrangement. This is Sian's,
  and this is Debbie's. She is going to use it as the backing for a crocheted blanket she had made for a friend's baby. Lucky baby.
Debbie and Sian like pretty things, and fell for this heart arrangement. This is Sian's, and this is Debbie's. She is going to use it as the backing for a crocheted blanket she had made for a friend's baby. Lucky baby.The next class will be on 10th March when we will be tackling curves. I'll post photos and requirements later.

 This month we will be making blocks for this quilt, which was designed by Rebecca Collins. It's made from light and dark fabrics, and you need an equal number of light and dark 9" squares cut in half diagonally. This design (and there are lots of possible arrangements of the basic components, which are different sized triangles) has four blocks arranged into a star. For each star you would need 2 light squares and 2 dark ones.
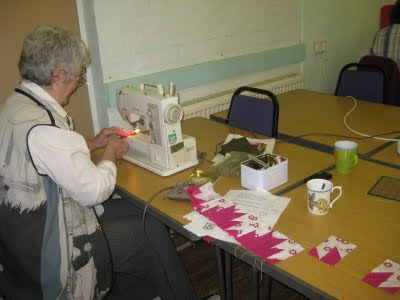 Betty and Rachel were sharing a machine and getting on very quickly with their mountains.
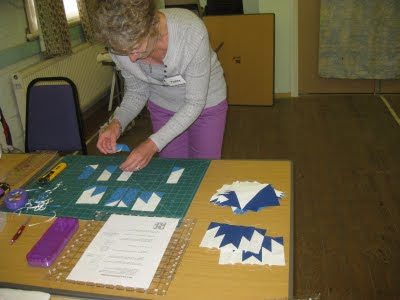 The blocks were a little challenging to assemble at first, but Pauline soon got into the swing of things.
 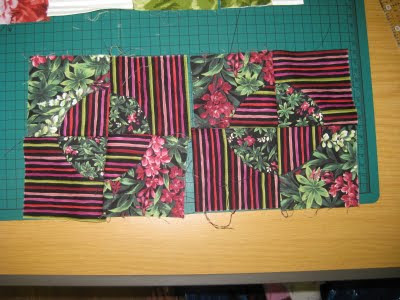 The Drunkard's Path blocks were shown to be very versatile. Rachel's are arranged into a Jockey Cap arrangement.
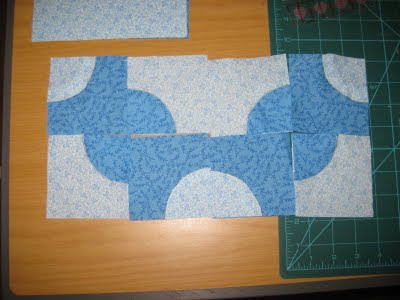 Pauline was able to put hers in this design, which would have been ideal to expand into a full sized quilt instaed of a row.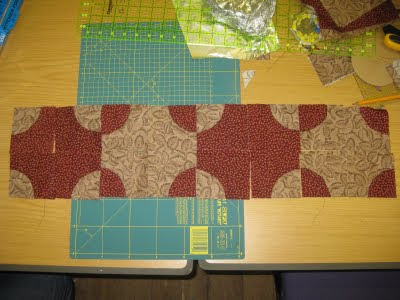
 There was a lot of playing going on, and Betty found this fabulous pattern! Again, it's too big for our purposes, but just shows the possibilities with such a simple starting block.
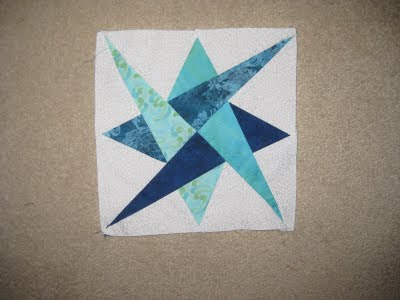 and a block using templates, Laced Star. then only two more rows and we're done!

 This was very time-consuming work, but with the invention of the sewing machine in 1856, they quickly realised that with a bit of lateral thinking they could make all those diamonds and triangles very easily. We will make two bands of Seminole, in the same or different colours.
 The next block will be one designed by Anita Grossman Solomon. She too like simple things, and her method for making an arrowhead block is a doddle. All you need is a couple of 8" squares and a post-it for each block.
 These have been made from the same two fabrics, but you could make each one from a different fabric if you want to (I certainly do!).
  2. If the idea of taking somebody else's ideas wholesale just doesn't appeal, why not find a piece of patterned fabric which you love, and choose colours from that! If you keep the proportions of the different colours roughly the same, you'll be sure of a winner. This fabric has purply pink, sage green, light green, black, cream and ochre.
  Take a piece along when brousing in your stash or shopping and match the colours!
 Analogous colours sit next to each other on the colour wheel, and always play nicely together. My quilt used autumnal colours, of green, yellowgreen, yellow, orange, red and brown (which is actually dark orange) and looks great. Blue, bluegreen, green and yellow would look good too. Any set of analogous colours (plus white or cream) would go together well.
  Rosemary and Paula were well organised and equipped, and kept the chatting to a minimum!
 Chris, Margaret and Jane beavered away!
 Jane was the first to finish, and her Australian fabrics were fabulous.
 Rosie looks a little bemused here - perhaps this was because this was her first experience of patchwork, and it was a steep learning curve for her! However, as you can see, she went away with a finished bag, so well done! Everyone worked really hard, and most people got their bag together (if not completely finished) in the day.


 Here is a view of the inside of the bag, with zipped pocket and three other flap pockets.