For the next few sessions, we will be making a sew-a-row quilt. This is a kind of sampler quilt, but instead of making individual blocks, we will be making rows of the same blocks, then joining them together to make a quilt. The advantage of a sew-a-row is that you get practice in making the same block (and practice makes perfect!) and since you only make 8 or 10 different blocks, it grows faster and is completed more quickly too!
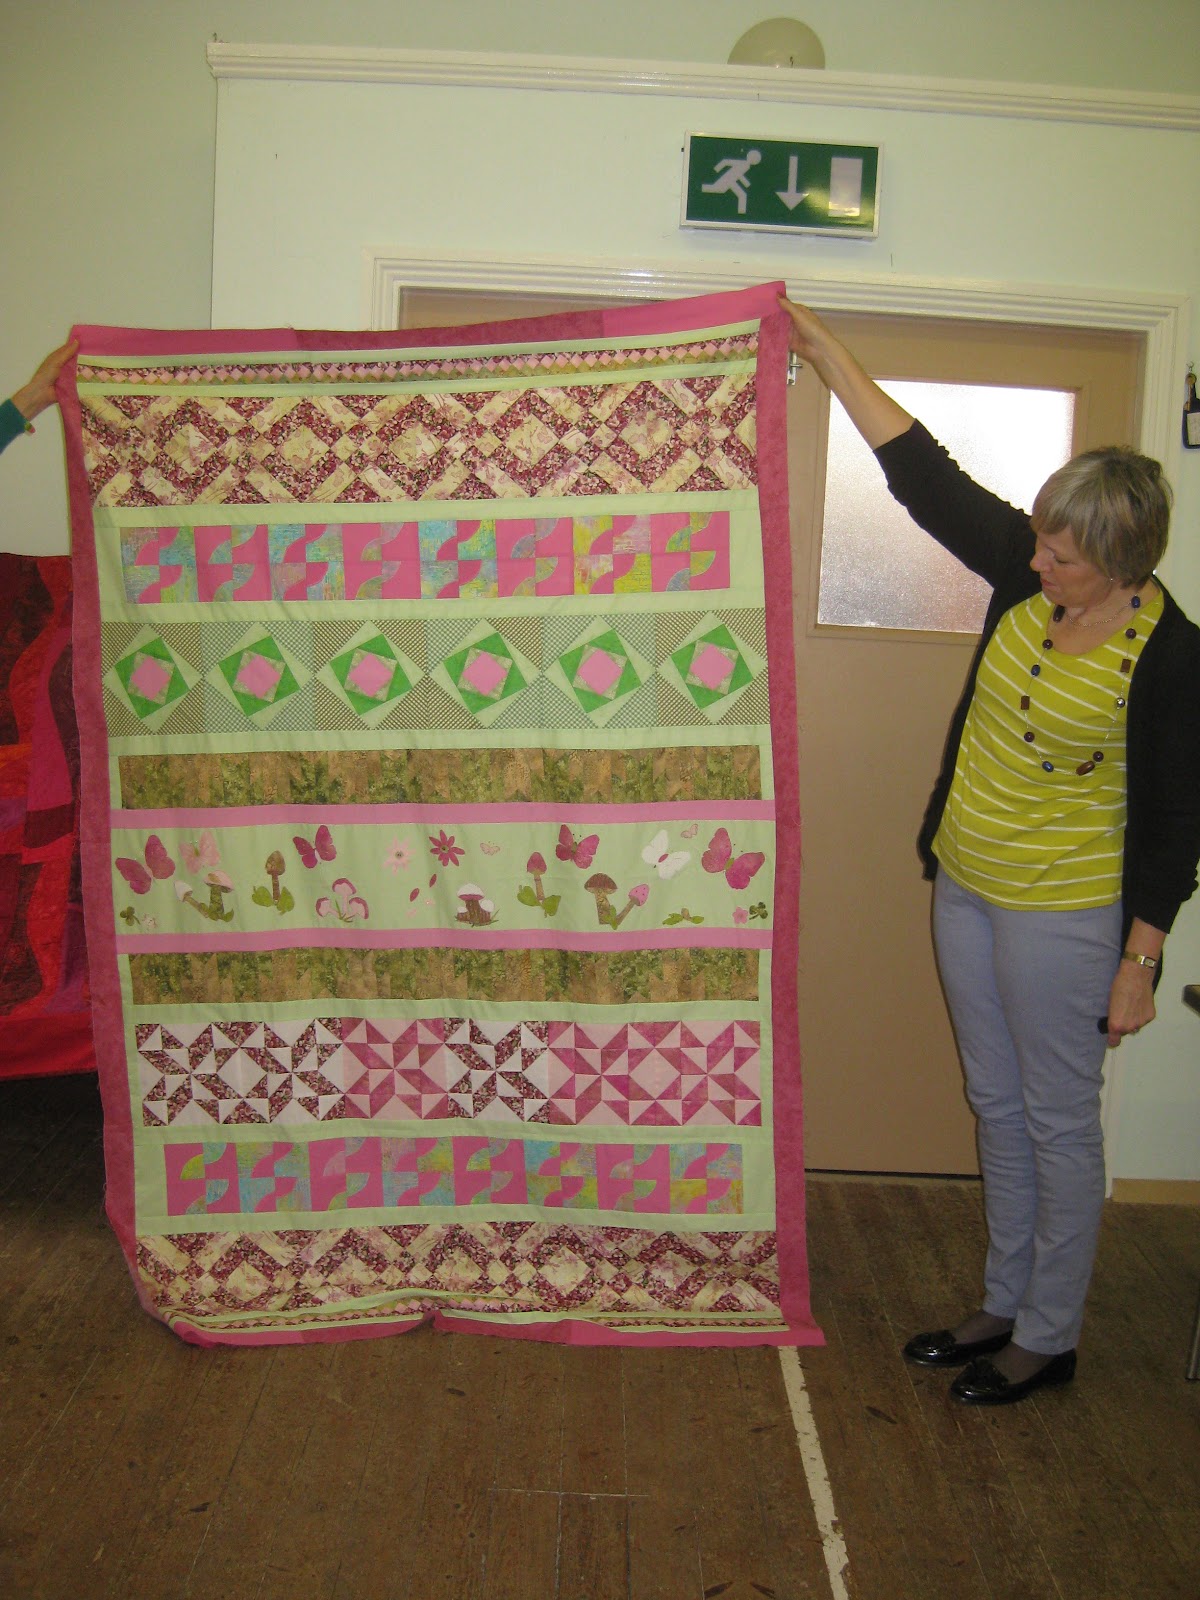
Here is one I made earlier, to give you an idea of what it might look like. Our sew-a-row will have some blocks the same, and some different. The first row we will make will be Seminole. This technique comes from the Seminole Indians in America, who liked to decorate their clothing with coloured bands of geometric shapes.

This was very time-consuming work, but with the invention of the sewing machine in 1856, they quickly realised that with a bit of lateral thinking they could make all those diamonds and triangles very easily. We will make two bands of Seminole, in the same or different colours.

The next block will be one designed by Anita Grossman Solomon. She too like simple things, and her method for making an arrowhead block is a doddle. All you need is a couple of 8" squares and a post-it for each block.

These have been made from the same two fabrics, but you could make each one from a different fabric if you want to (I certainly do!).
The blocks are all decided, but the problem we all face, is chosing colour. Here are the easiest ways to result in a lovely quilt.
1. Buy a co-ordinated pack of fabric. Fabric designers are professional colour experts, so don't scorn their advice.

2. If the idea of taking somebody else's ideas wholesale just doesn't appeal, why not find a piece of patterned fabric which you love, and choose colours from that! If you keep the proportions of the different colours roughly the same, you'll be sure of a winner. This fabric has purply pink, sage green, light green, black, cream and ochre.

Take a piece along when brousing in your stash or shopping and match the colours!
3. Make a monochromatic quilt. Choose just one colour, eg. blue, and use dark, medium and light shades of the colour (perhaps with white or cream as a neutral) and the quilt will be stunning. Think of reds - scarlet, vermillion, burgundy, rose, pillar box, spotted, striped, flowered, checked -and white or cream; what a sumptuous quilt that would be!
4. Use a colour wheel to find analogous colours.  Analogous colours sit next to each other on the colour wheel, and always play nicely together. My quilt used autumnal colours, of green, yellowgreen, yellow, orange, red and brown (which is actually dark orange) and looks great. Blue, bluegreen, green and yellow would look good too. Any set of analogous colours (plus white or cream) would go together well.
5. Use the colour wheel to find complimentary colours. Complimentary colours sit opposite each other on the colour wheel. The best example is the Christmas colours of red and green - always a winner! Other fool-proof examples are blue and orange or violet and yellow.
Always make sure you have a mixture of dark, medium and light values and you'll be sure of a good result.




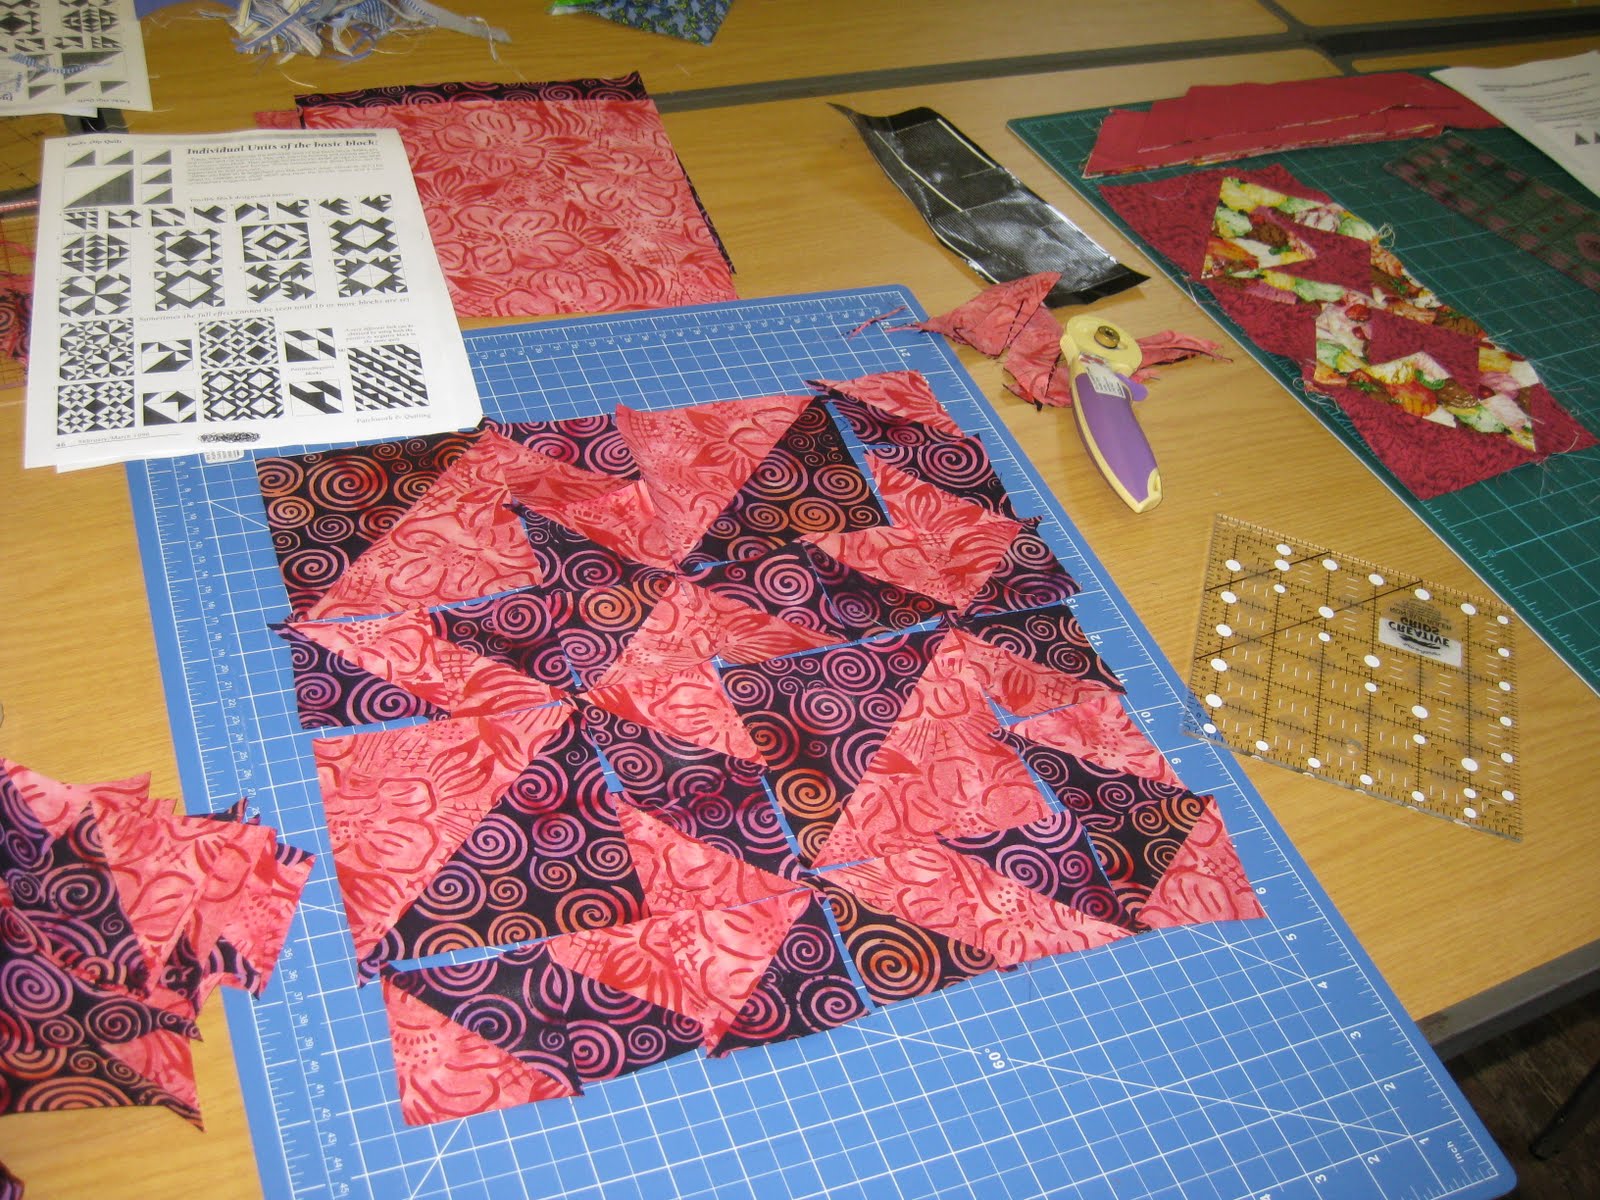
 Rachel chose rich browns and beiges, and has made a pinwheel out of them. She is thinking of making more and then sashing them in plain dark brown. Good decision.
 Hazel only wanted to make a few blocks for a cushion. This design will do the trick (and she doesn't need a button in the middle, as her join is perfect!)
 Debbie and Sian like pretty things, and fell for this heart arrangement. This is Sian's,
  and this is Debbie's. She is going to use it as the backing for a crocheted blanket she had made for a friend's baby. Lucky baby.
 This month we will be making blocks for this quilt, which was designed by Rebecca Collins. It's made from light and dark fabrics, and you need an equal number of light and dark 9" squares cut in half diagonally. This design (and there are lots of possible arrangements of the basic components, which are different sized triangles) has four blocks arranged into a star. For each star you would need 2 light squares and 2 dark ones.
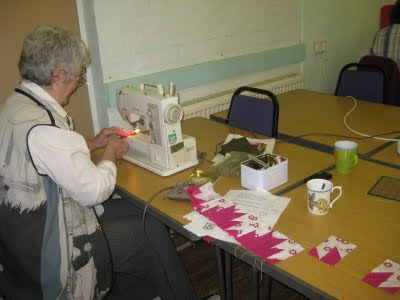 Betty and Rachel were sharing a machine and getting on very quickly with their mountains.
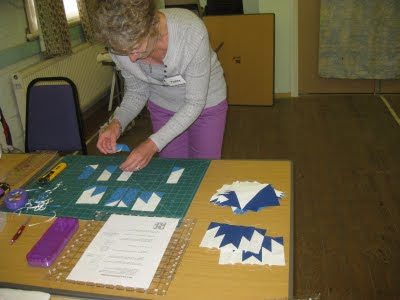 The blocks were a little challenging to assemble at first, but Pauline soon got into the swing of things.
 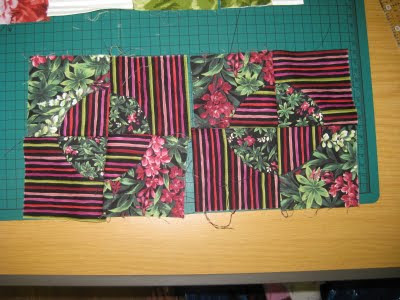 The Drunkard's Path blocks were shown to be very versatile. Rachel's are arranged into a Jockey Cap arrangement.
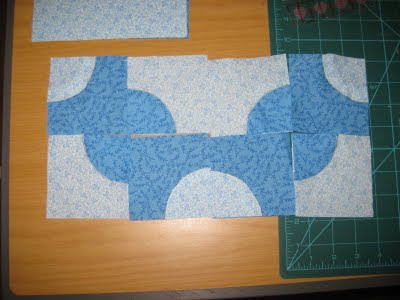 Pauline was able to put hers in this design, which would have been ideal to expand into a full sized quilt instaed of a row.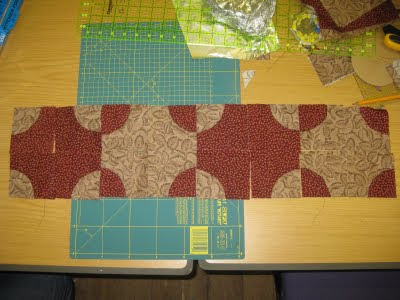
 There was a lot of playing going on, and Betty found this fabulous pattern! Again, it's too big for our purposes, but just shows the possibilities with such a simple starting block.
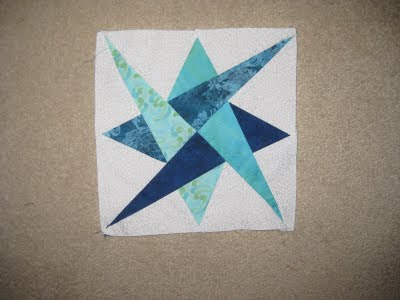 and a block using templates, Laced Star. then only two more rows and we're done!
