Tuesday, 21 August 2012

Dresden plate

September's class will soon be upon us, so I'll put the requirements for anyone who didn't get them or has lost theirs. For each block you will need a 12.5" square of background fabric, 12 strips for the petals measuring 3.5" by 4.5" and a piece for the centre about 3" square. 


Here is the finished block.  I used scraps, but you could use one colour, two colours or whatever you like!


Here is my completed top.  It measures about 44" square.  I used 70cm of background fabric and half a metre of floral fabric.  The first border is 1.5" cut and the second 4.5" cut.  Can't wait to see the colours you all choose!

Wednesday, 11 July 2012

Applique experts!

The session started with show and tell - and what a lot there was!  Betty set the tone by showing her sampler using blocks from the last three sessions.  The centre is bargello, each end is made of Scrappy Triangle blocks and the borders are curves.  The controlled colour palette makes it all go together well.  Fantastic!

I thnk this was Betty's too.  She couldn't make the middle match, so cleverly added a strip to match the border.  


This one is Julie's, with the beautiful waterfall colours.
 Rachel used a jelly roll, and has made it into this single bed quilt.  She has wadded it already so is ready to quilt!

Julie brought her curves made into this lovely cushion - beauty and utility combined!
 Debbie finished her bargello and has made another!  The fabrics are very muted and suitable for a baby quilt.  She used a variety of fabrics, including some white satin, which she said was very tricky to work with!  (That's why we like working with 100% cotton!)

Here is the back of the quilt - beautifully crocheted.

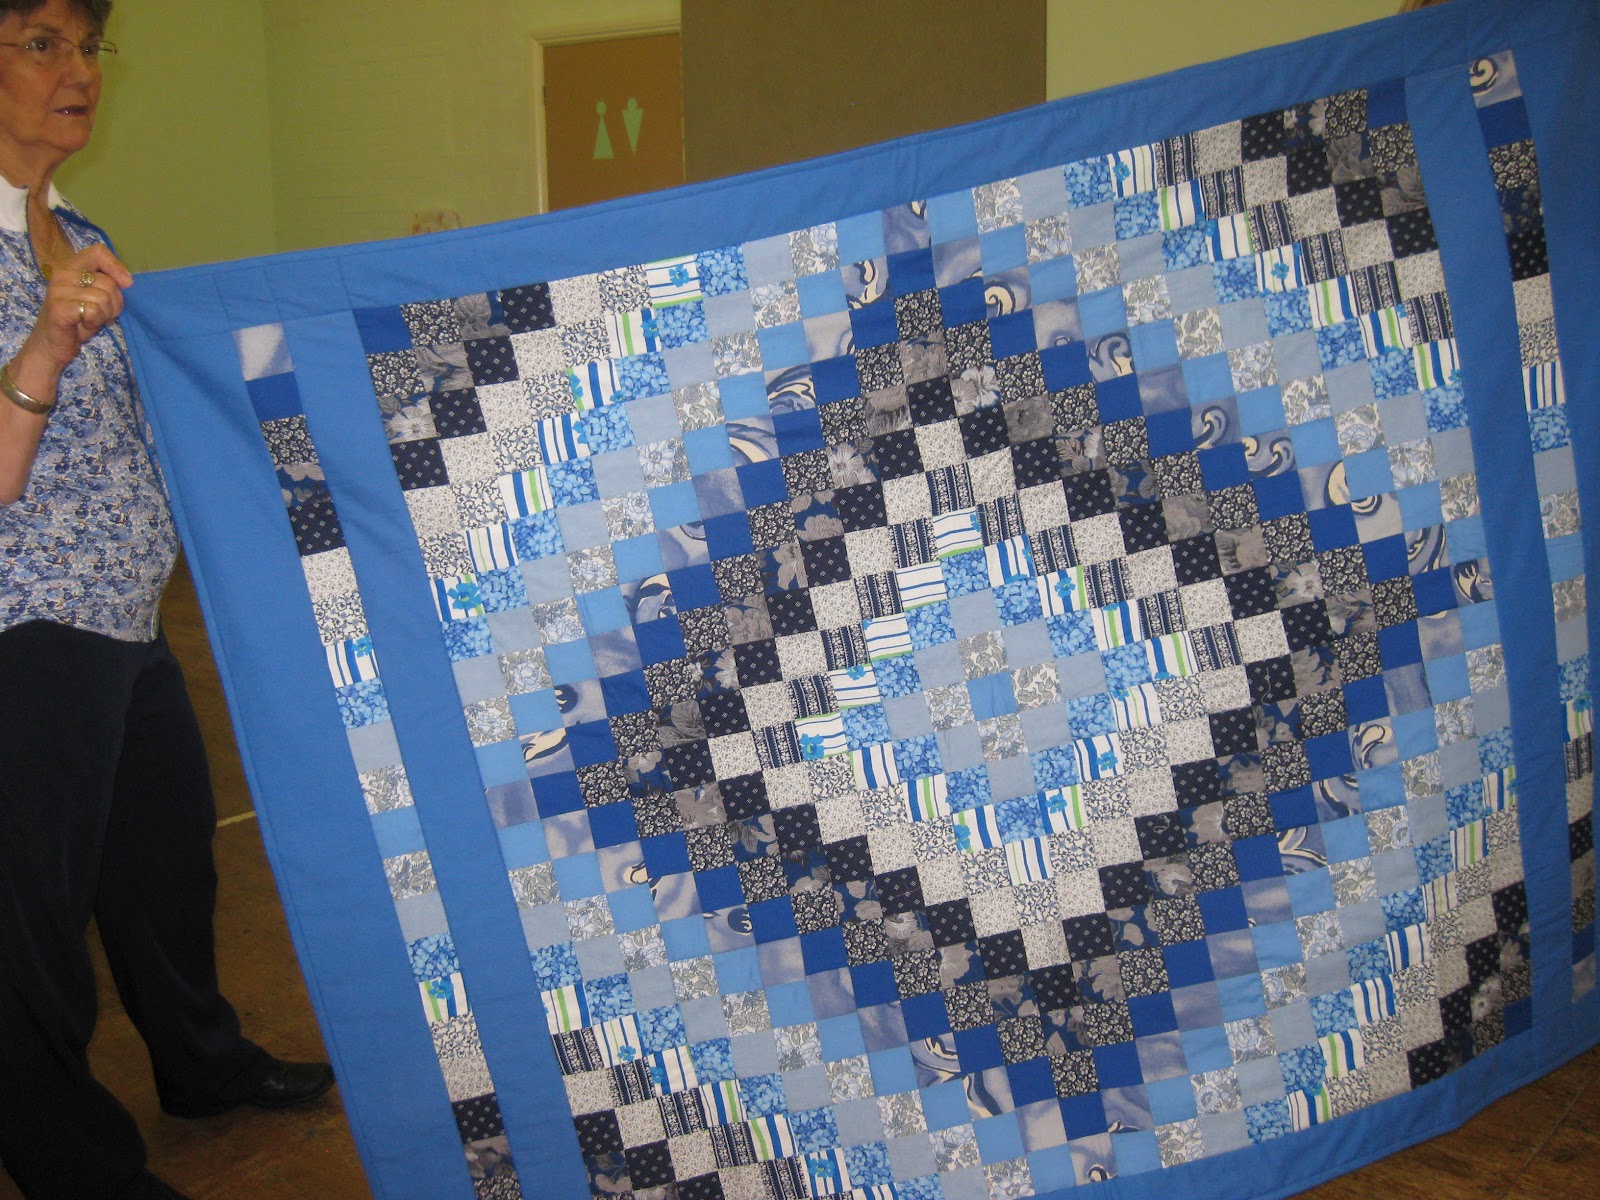
Hazel is so innovative, and has made her bargello into a Trip Round the World!  She didn't want it square, so added strips at either end to make it rectangular.  Stunning!

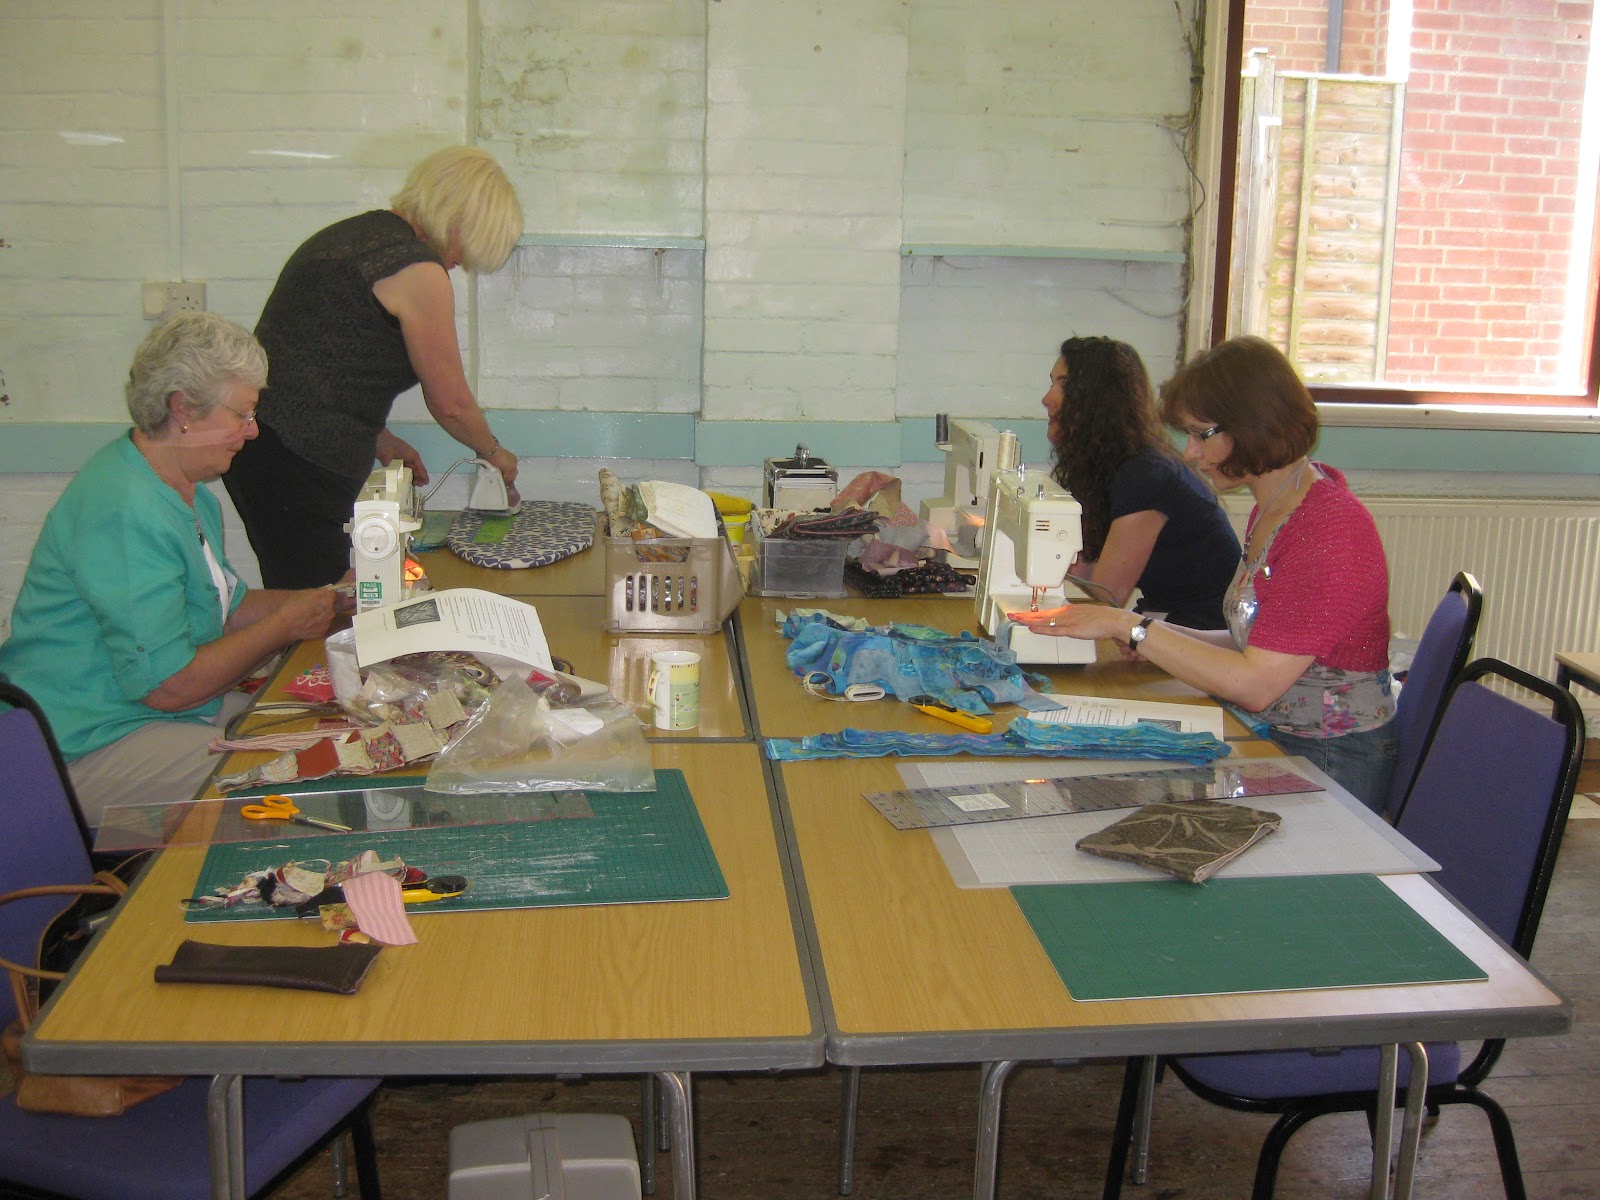
Now for the business of the day.  I showed how to use fusible web and anchor it with a close zigzag.  I encouraged everyone to try the technique (especially innies and corners) by appliqueing a heart.  One or two sensible people made a couple - good to get the technique firmly under your belt!  Julie and Rachel decided that they wanted to make small designs for bag pockets.  Aren't they sweet? 

Kate went for the whole design.  What fabulous colours!  She is off to New Zealand for a holiday this weekend, and has decided to blanket stitch round the edges while on her journey.  Good use of time.

Rosemary has used colours which remind me of spring - very fresh and bright.

Margaret had a Teflon presser sheet and was laying her pieces onto it.  She was kind enough to let everyone have a good look at it, and wish they had one too!  The design was rather complicated, but hopefully will give a good result.

Debbie designed her own design with these lovely hearts and flowers.  Beautiful.

I'm so annoyed with myself that I don't have more photos.  Pauline and Emily chose the basket design and nearly got it completed; Hazel used Laura Ashley fabrics for a claasic look; Sian had background fabric which was hot orange - fabulous; Aimee changed the design to holly leaves, poinsettias and a robin.  Such creative people!  Can't wait for show and tell in September.

Monday, 11 June 2012

July class - applique with fusible web

In July we will tackle applique using fusible web.  This means that the design is stuck onto the background, but as the edges are all raw, and the glue isn't totally permanent, we will need to stitch round the shapes to secure them.  For this class I will teach a close zigzag, so you need to make sure your machine has a zigzag stitch and an appropriate foot.
I have chosen this lovely design from 'Creative Patchwork' as it is very simple, with hardly any points or tricky shapes - just a few so you get the technique.  I know there's quite a lot to it, but believe me, it's very straightforward but looks really impressive when complete.
For this you will need:
1 yard of fusible web. Brands are Heat and Bond or Bondaweb. Make sure you buy the sewable not the ultra. If you can't get any, or aren't sure, I will bring some on the day and you can buy it from me at £3.25 per yard.
A piece of background fabric 16½”square. Make sure this is good quality, as flimsy fabric will pucker when you sew it.
Small amounts of fabric (about 9” square) for leaves and stems, flowers, a bird, a flowerpot.
Threads to closely match the fabrics you have chosen.
A sewing machine with a zigzag stitch, paper and fabric scissors, a pencil and usual sewing kit.
If you have a table ironing board and iron, it would be very useful.

If you are feeling really daunted by the design above, I will include the pattern for this alternative design, a basket of flowers.  This is easy-peasy-lemon-squeezy, as there are no points or tricky bits at all, just straightforward sewing.  For this you will need half a yard of fusible web (as above), an 11.5" piece of background fabric, again, make sure it's good quality or you will be disappointed.  Then a piece of fabric for your basket about 9" square, five small pieces (say 4" square) of fabric for the flowers, and one or more pieces of green for the leaves. Threads to closely match the fabrics you have chosen, sewing machine, fabric and paper scissors and a pencil..   
See you in July!

Monday, 28 May 2012

Bargellos in progress

On Saturday, the weather was hot and sunny, but everyone was keen to spend the day inside  sewing!  The hall is cold in the winter, and was lovely and cool, especially when the front and back doors were opened.  (The only snag with having all the doors open was that a bird flew in, and spent a while perching on the bunting!  Luckily Debbie caught it and returned it to the fresh air outside.)
We started with show and tell, and Hazel showed this gorgeous Mount Hood quilt she had finished.  She has reversed alternate rows and this creates a fabulous secondary zigzag pattern.  This and the vibrant reds make a stunning quilt. 

Alison brought her Curves quilt from last time.  The colours are muted and subtle - perfect for this technique.   I love the flashes of orange and yellow which set off the blues and greens perfectly.  She is yet to bind it, but this will be in the same dark grey of the border.  It will be ideal.

 And then to work.  Debbie taxed my brain by wanting to make the design to finish as a backing for a pink cot quilt measuring about 14"x18".  We decided that 5 rows of 2" squares would do the trick.
 Hazel had all her strips organised - all different shades of blue.
 Sian and Aimee got straight to work - no slackers here!
 Alison spent ages cutting, cutting, cutting, so that all her strips were ready and organised.  Wish I could do that, instead of leaping straight in!  Emily had a limited number of fabrics, but she had one gorgeous one with babushkas on it, which she'd brought back from Russia.  That's the mark of a true textile fanatic, bringing fabric back as a holiday souvenir!  Kate has had a rather hectic time recently, so hadn't managed to get suitable fabrics.  This meant she was happy to use Project Linus fabrics, which will eventually be made up into a quilt for a child in need of a hug.  Way to go, Kate!
 The table at the back were very well behaved.  Liz and Betty sewed and sewed, and Rachel and friend decided to sew strips across the width of the fabric, rather than cutting shrter strips.  Luckily Rachel's Maths skills are better than mine and she was able to calculate how to cut these strips to make the same kind of result.  I'm looking forward to seeing the quilt.
 June was cutting some 4" strips down (she'll have plenty of 1.5" strips for another project) and Margaret very sensibly decided that she didn't want to start another quilt (I wish I was as sensible!) and was finishing her scrappy triangles quilt.  Paula and Rosemary were very hard-working, and I think Rosemary won the prize for most strips joined - two sections finished!
 Here is Debbie's little top finished. I was relieved that it came up to the required measurements!
 Here is Liz's completed panel - like a cool waterfall!
 Kate is putting the last row on hers.  Lots of interesting feature fabrics in this quilt.
I think this is paula's strip, but am not 100% sure.  In any event it's lovely and bright and cheerful, and will make a wonderful quilt.  I can't wait to see the finished quilts, and hope to see some in tje next class in July.

Wednesday, 18 April 2012

Scrappy bargello

May's class is Bonnie Hunter's Scrappy bargello, a dream of a quilt, which nearly everyone I know has fallen in love with, even people who don't like scrappy quilts. 

This is my version of it, and you can see what a dramatic quilt it is, with a strong zigzag design.  To make a 48" x 48" top you will need 96 strips measuring 2.5" x 16".  The more variety you have in fabrics the better.  If you don't have variety I'm happy to swap strips with you on the day.  This is a chance to use up any ugly fabrics you have, those 'bargain' fabrics you can't remember why you bought, but try and balance them with nice/bright fabrics, so it's not all horrid.  You will need the equivalent of 12 fat quarters.  (If you want to make it bigger, bring more fabric!)
If you really can't face scrappy, buy three quarters of a metre of five fabrics: this can be yardage or fat quarters.  Have a good range of shades, from dark to light for a good result.  Each fabric will need to be cut into 20 strips measuring 2.5" by 16".

Just to inspire you, here is another version of the same design, which makes a Scrappy Trip Round the World.  Looking good!  Have a look on Bonnie's site for more inspiration.
Also, some people wanted to see how to do quilt as you go, so if you can bring a couple of 'sandwiches' (6" squares wadded, backed and quilted), a strip of fabric 1.5" x 6" and one 1" x 6", then you can do it on the day and have a visible reminder of the technique.

Sunday, 11 March 2012

Curves are easy!

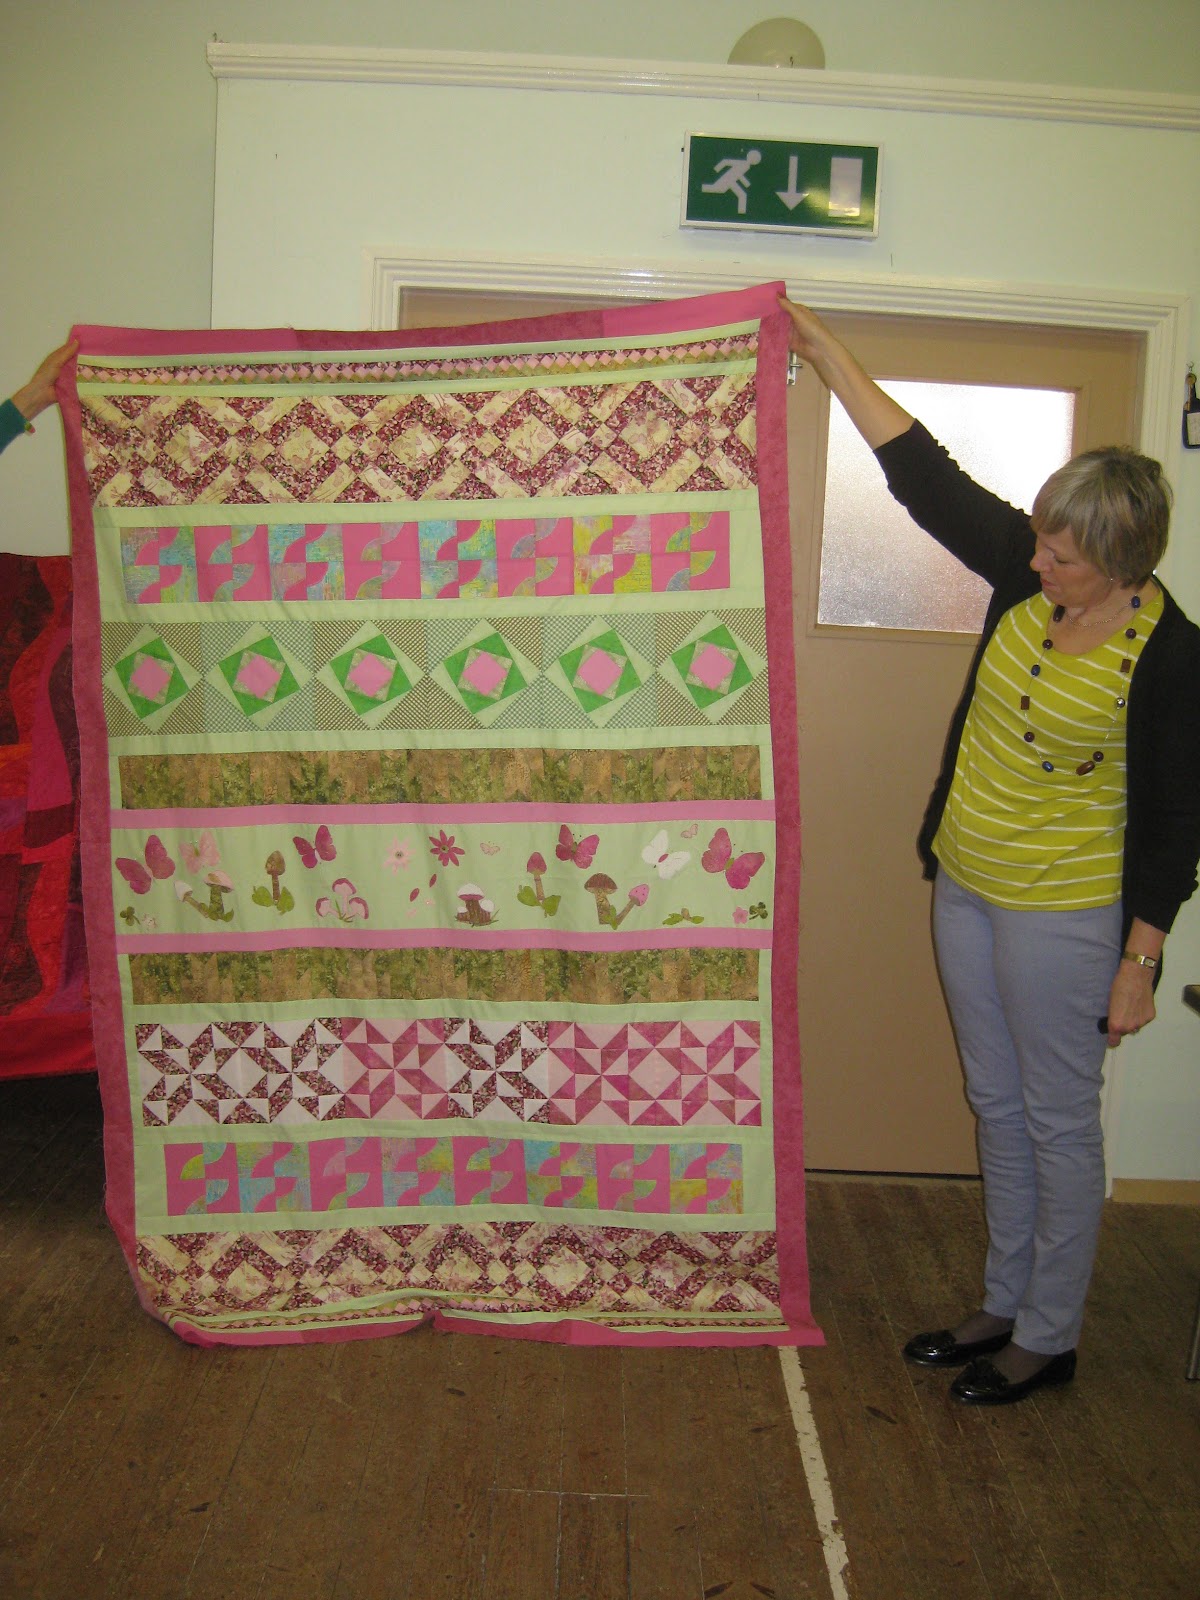
Our easy quilts session this time started off very well, when Paula showed us her completed Sew-a-row quilt!  It is absolutely beautiful, and her applique (of butterflies and woodland creatures) is absolutely perfect for the colour scheme.  Well done Paula, and here's to a successful quilting session!
 More show and tell from speedy Pauline, who has managed to get last time's Scrappy Triangles together into a top.  (Sorry, Liz also had a top to show, but I forget to photograph it!)  Pauline was using up fabrics from her pink phase, and I think she's done a splendid job at that!  The brown border is a masterstroke, framing the blocks perfectly. 
 Then onto the business of the day.  Most people were attempting curves, although Kate and Emily, who had missed the last session, caught up on Scrappy Triangles.  Pauline chose some gorgeous batik fabrics in purple and ochre, which will make a striking effect.  You can also see Liz's choice of different blues for a calmer result!
 One of the many things I love about this group is their attitude to colour - they all love brights and aren't afraid of contrast.  You can see this in Paula's choices, purple and lime green.  Yummy!
Aimee wanted to make a cot quilt, so had brought a fat quarter bundle of pinks.  This will make up into a sweet quilt.  Sian was using nautical prints in red, white and blue to make a quilt for her mum.  Lucky mum!


Emily used just two colours, purple and cream, to make this striking pattern.  It is ideal for her fabrics.
Kate had lots of solid scraps, and used them to good effect in this design.  I love the pinwheel in the middle!


 Rachel always produces fabulous colour choices, and she has decided to use a narrow black sashing to showcase her blocks.


 Rosemary isn't a fan of asymmetry, and put all her blocks into pairs.  She too is going to sash them, but couldn't decide on a suitable colour.  Eventually she decided on a tan, and will audition her blocks with that at home.
 Julie's blocks look like a tropical waterfall!  She's planning a floor cushion (or two!) 
 Margaret had this wonderful selection of autumnal fabrics.  They all play beautifully together.  She is planning to border them with either green or brown.  Either would be great.


And here is Emily's completed block.  Great matching, and look at all those points!  Way to go, Emily!


The next class will be a bargello, and I'll post photos and requirements later,

Tuesday, 14 February 2012

Curves

No, that's not a reference to the results of winter comfort eating, but next month's project! Here is a photo of 'Seductive Curves' made for my daughter.

The design relies heavily on the shapes of the curves, so will looks good in batiks or solids, or in fabrics which have a good contrast or don't have lots of clashing patterns. I have another quilt in this design somewhere, and will try and track it down. See you on 10th March.