Monday, 4 February 2013

Magic tile

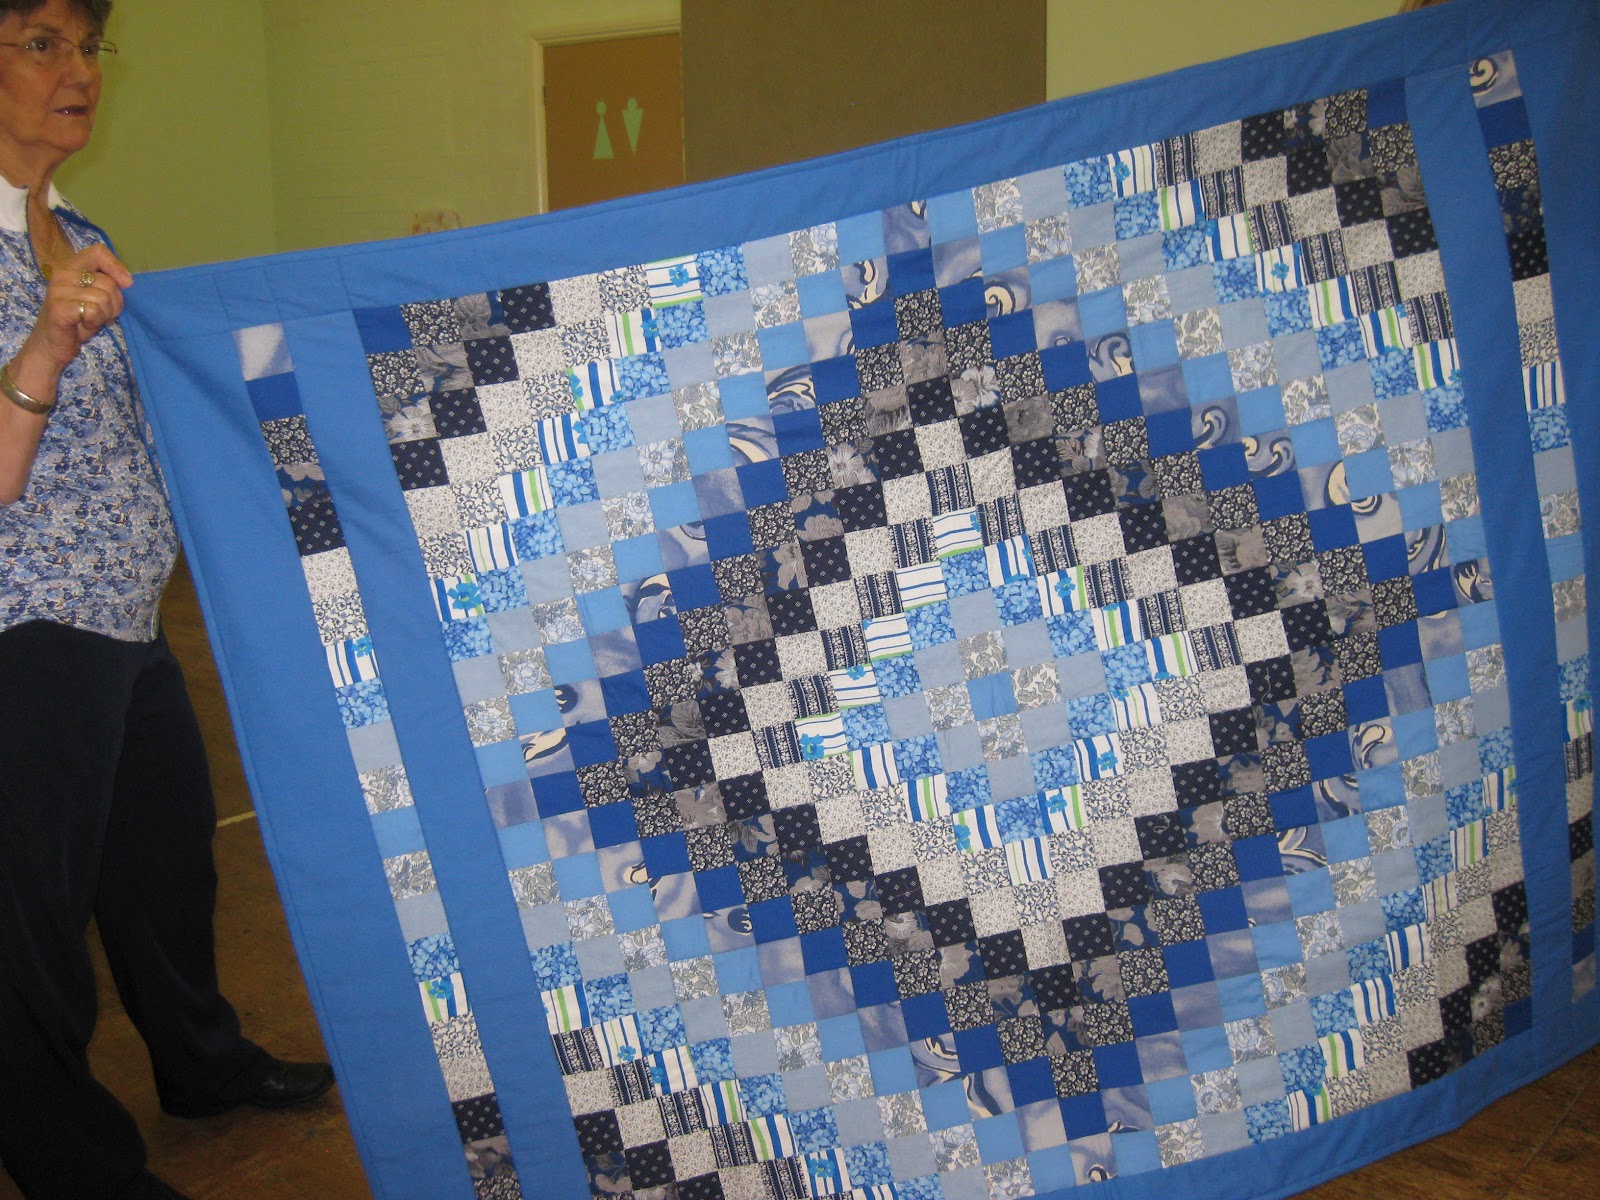
The class on 9th March will be the stunning Magic Tile.  This design isn't too tricky (if you concentrate on what you're doing!) but produces a unique result.  Lots of people make the design in jewel colours, with black 'grout', but you don't have to.  Pastel colours with cream 'grout' would be good, or use complimentary colours (green fabrics with red or orange 'grout' for eaxample would be lovely).

 
I used analagous colours for my quilt, red, orange and pink, which lie together on the colour wheel.  You could try blue/purple/green, green/blue/yellow or any colours round the colour wheel.  If you're still at a loss on colour choice, Google 'magic tile' and find a colour combination you like.
You will need a fat quarter of fabric for every completed tile you make (my nine tiles took nine FQs, so buy 12 or 16 if you want a bigger quilt), and a metre or metre and a half of the 'grout' colour.  Bring a piece of paper 15" square and a pencil, and the longest ruler you have. 
I'm looking forward to seeing all the different colour choices!


Monday, 14 January 2013

Quilters rule!

Blogger has been playing up and not allowing photo upload, so I didn't think I would be able to share the few photos I took on Saturday.  But superior intellect has won the day, and I've managed to sort it out!  This class was machine quilting and 'quilt-as-you-go', although Sian and Martin had got a bit confused and quilted blocks ready to join.  No problems.  Sian is already a proficient machine quilter, and Martin only needed a few tips.  Result!
 
 
Pauline and Emily were busy free machine quilting, and the reason Emily looks so smug is that she took to it like a duck to water.  I can see a quilting business coming up for her in the future.
 
 
Sue had brought her Window Block from the Piecemakers Mystery Quilt, and proved yet again how hard it is to sew a straight line!  Better choice of thread colour helped her with that.  I know loads of ways to fudge!

 
Martin tried to save some time by using invisible thread to sew the backs of the quilt as you go blocks.  What a clever idea!  However, he didn't like the result, so undid it.

 
Julie and Rachel were happy to hand sew the backs.  It's quite relaxing.

 
So relaxing that Paula and Rosemary managed a nice chat!

 
Here are Sian's blocks partially joined.  She didn't have enough fabric with her, but was very pleased with the result so far, as she should be! 

 
Rachel took advantage of the tables to lay out her curves.  They look fabulous and the use of the brown and pink blocks as a border is fabulous.  I'll look forward to seeing it finished.

 
The next class will be on 9th March and will be 'Magic Tile'.  See you then!

Monday, 8 October 2012

Roll up bag

The next class will be on November 3rd - sorry I had to change it from the original date as my husband has decided to have his 60th birthday party on that day, and I think I'll be needed at home!  Here is a photo of the roll up bag.  I used a nice border print for the outside.
 
 
Here it is unrolled, so you can see the zipped plastic pockets, the little pocket with a tab and the needle case.

 
And here is a close up of the top, to show the inner pocket, and the reason you need Velcro (or some sort of fastening) to keep things from falling out!

 
I haven't yet finalised the dates for next year, but the classes will be, free machine quilting and quilt as you go (11 votes), improvised pieced houses (11 votes), magic tile (11 votes), using a jelly roll (9 votes), granny squares (8 votes) and turning leaves (8 votes).  Sounds like a great plan!

Monday, 17 September 2012

All plated up

What a lovely day we had this time.  All good days start with show and tell, and Rosemary kicked us off with her beautiful applique which she had made into a folk art wall hanging.
 
 
Paula had made hers into a cushion - I love the green border!  It sets off the blues in the design perfectly.

 
Kate had blanket stitched round her shapes on a recent journey to New Zealand.  (I was lucky enough to see the fabrics she bought while she was there - delectable!)  She hasn't quite decided what to make it into yet.

 
And now onto the task in hand.  Everyone enjoyed this easy block and the colours chosen were all gorgeous.  Hazel chose a lovely purple palette and a lilac background.

 
Martin had some lovely fabrics with sewing equipment on it.

 
Emily got on swimmingly - was it anything to do with the swish new machine she had had for her birthday?  That certainly helped, but she made a lovely block.

 
Here is Kate's bright block in progress.  She's going to put all the blocks she's made recently into a sampler quilt.  Great idea!

 
Here is Emily's completed block.  The orange background really sets if off, and apart from the egg shaped centre (cut out by yours truly!)  it's perfect!


Kate chose a turquoise centre - an ideal foil for the bright colours of the petals.

 
Look at Sue's fun licorice allsorts fabric!  She sewed her plate down by stitching a quarter of an inch inside the edge of the petals.  What a clever idea, as it emphasises the shape beautifully and is quick and easy!

 
Martin cut the petals for all his plates at the start of the day, then zoomed along chain-piecing them.  They'll look great on the pink spotty background.

 
This plate with autumn colours looks stunning - I especially like the checked centre.  People often shy away from checks, but they really can add a folksy touch. 

 
Betty couldn't join us till lunchtime (lots of important things to do!) but she had already made some Dresden Plates on this quilt for a twin boy.   Betty's needleturned applique is second to none!

 
I don't know why Sue's examining her block so quizzically - it's lovely.


Pauline chose a delicate palette which looks crisp and fresh.  We auditioned various centres and decided that white was probably the best choice.  She didn't have any, so we'll see the finished result next time.

 
Rachel isn't afraid of colour, and her bright pink plate will look wonderful on the black background.


 As usual, despite my best efforts, I didn't get photos of all the blocks.  If I've left you out, it isn't personal, just typical of my poor organisation!  Make sure you bring your blocks for show and tell, and I'll be certain to include them next time.


Tuesday, 21 August 2012

Dresden plate

September's class will soon be upon us, so I'll put the requirements for anyone who didn't get them or has lost theirs. For each block you will need a 12.5" square of background fabric, 12 strips for the petals measuring 3.5" by 4.5" and a piece for the centre about 3" square. 


Here is the finished block.  I used scraps, but you could use one colour, two colours or whatever you like!


Here is my completed top.  It measures about 44" square.  I used 70cm of background fabric and half a metre of floral fabric.  The first border is 1.5" cut and the second 4.5" cut.  Can't wait to see the colours you all choose!

Wednesday, 11 July 2012

Applique experts!

The session started with show and tell - and what a lot there was!  Betty set the tone by showing her sampler using blocks from the last three sessions.  The centre is bargello, each end is made of Scrappy Triangle blocks and the borders are curves.  The controlled colour palette makes it all go together well.  Fantastic!

I thnk this was Betty's too.  She couldn't make the middle match, so cleverly added a strip to match the border.  


This one is Julie's, with the beautiful waterfall colours.
 Rachel used a jelly roll, and has made it into this single bed quilt.  She has wadded it already so is ready to quilt!

Julie brought her curves made into this lovely cushion - beauty and utility combined!
 Debbie finished her bargello and has made another!  The fabrics are very muted and suitable for a baby quilt.  She used a variety of fabrics, including some white satin, which she said was very tricky to work with!  (That's why we like working with 100% cotton!)

Here is the back of the quilt - beautifully crocheted.

Hazel is so innovative, and has made her bargello into a Trip Round the World!  She didn't want it square, so added strips at either end to make it rectangular.  Stunning!

Now for the business of the day.  I showed how to use fusible web and anchor it with a close zigzag.  I encouraged everyone to try the technique (especially innies and corners) by appliqueing a heart.  One or two sensible people made a couple - good to get the technique firmly under your belt!  Julie and Rachel decided that they wanted to make small designs for bag pockets.  Aren't they sweet? 

Kate went for the whole design.  What fabulous colours!  She is off to New Zealand for a holiday this weekend, and has decided to blanket stitch round the edges while on her journey.  Good use of time.

Rosemary has used colours which remind me of spring - very fresh and bright.

Margaret had a Teflon presser sheet and was laying her pieces onto it.  She was kind enough to let everyone have a good look at it, and wish they had one too!  The design was rather complicated, but hopefully will give a good result.

Debbie designed her own design with these lovely hearts and flowers.  Beautiful.

I'm so annoyed with myself that I don't have more photos.  Pauline and Emily chose the basket design and nearly got it completed; Hazel used Laura Ashley fabrics for a claasic look; Sian had background fabric which was hot orange - fabulous; Aimee changed the design to holly leaves, poinsettias and a robin.  Such creative people!  Can't wait for show and tell in September.

Monday, 11 June 2012

July class - applique with fusible web

In July we will tackle applique using fusible web.  This means that the design is stuck onto the background, but as the edges are all raw, and the glue isn't totally permanent, we will need to stitch round the shapes to secure them.  For this class I will teach a close zigzag, so you need to make sure your machine has a zigzag stitch and an appropriate foot.
I have chosen this lovely design from 'Creative Patchwork' as it is very simple, with hardly any points or tricky shapes - just a few so you get the technique.  I know there's quite a lot to it, but believe me, it's very straightforward but looks really impressive when complete.
For this you will need:
1 yard of fusible web. Brands are Heat and Bond or Bondaweb. Make sure you buy the sewable not the ultra. If you can't get any, or aren't sure, I will bring some on the day and you can buy it from me at £3.25 per yard.
A piece of background fabric 16½”square. Make sure this is good quality, as flimsy fabric will pucker when you sew it.
Small amounts of fabric (about 9” square) for leaves and stems, flowers, a bird, a flowerpot.
Threads to closely match the fabrics you have chosen.
A sewing machine with a zigzag stitch, paper and fabric scissors, a pencil and usual sewing kit.
If you have a table ironing board and iron, it would be very useful.

If you are feeling really daunted by the design above, I will include the pattern for this alternative design, a basket of flowers.  This is easy-peasy-lemon-squeezy, as there are no points or tricky bits at all, just straightforward sewing.  For this you will need half a yard of fusible web (as above), an 11.5" piece of background fabric, again, make sure it's good quality or you will be disappointed.  Then a piece of fabric for your basket about 9" square, five small pieces (say 4" square) of fabric for the flowers, and one or more pieces of green for the leaves. Threads to closely match the fabrics you have chosen, sewing machine, fabric and paper scissors and a pencil..   
See you in July!